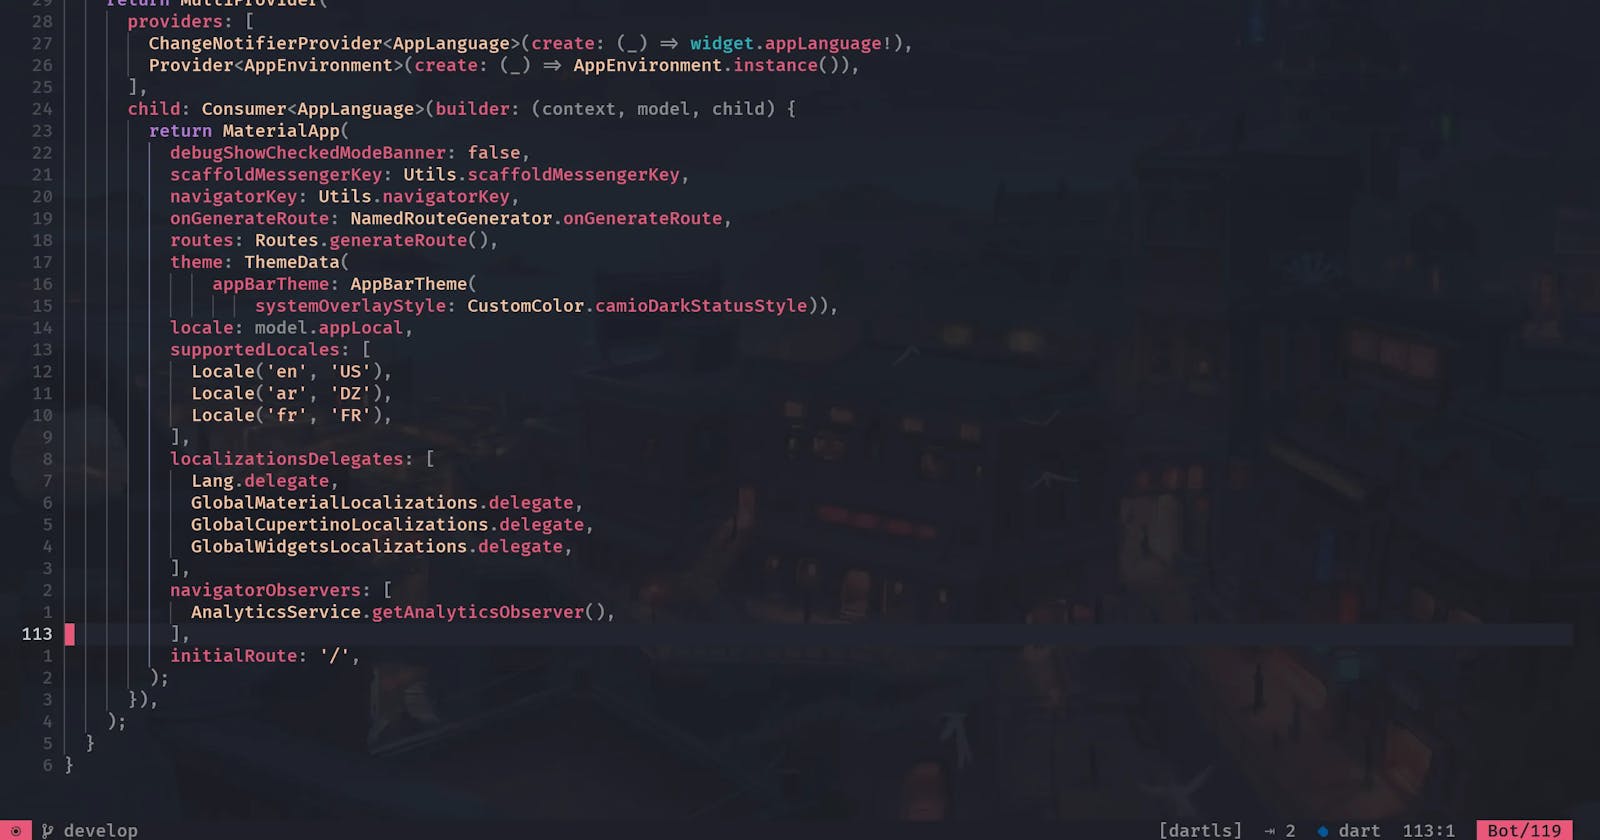
Supercharge Flutter with Neovim: A Complete Setup Guide
Effortless Flutter Development with Neovim and LunarVim: Master Streamlined Configurations, and DAP Debugging.
Hey there, Get ready to level up your coding game with the unbeatable combo of Flutter and Neovim. 🚀 We all love Speed and Flutter, it’s one common thing that brings us all together, And that’s why you’ll love Neovim.
I’m super excited to share this article because it all started with my month-long search for the perfect Neovim setup for Flutter. Unfortunately, I couldn’t find what I needed, but after figuring it all out, I knew I had to create this guide to help my awesome fellow Flutter developers!
How I started my Neovim configuration?
Unlike many, I prefer not to start my Neovim configuration from scratch. Don’t get me wrong, I enjoy tweaking and playing with my IDE configs, but I’d rather not waste time on the most basic things.
Wondering what prebuilt Neovim configurations are out there? You’ve got two popular options to choose from: NvChad and LunarVim. At first, I dived into NvChad, but the configuration style was akin to starting from scratch (which has its long-term benefits). However, that wasn’t quite what I was after. My goal was to have a setup where I could easily tweak my configuration and see the changes in action without having to make adjustments across multiple files.
So I chose Lunarvim, and it provided me with exactly what I needed. It offers options to quickly tweak my configuration, and if I ever feel like it, I can switch back to a more traditional Neovim setup. It’s the best of both worlds!
What do I have now?
With Lunarvim, I have everything I need in my IDE fully set up, and there’s even more to love! One feature I adore is the integrated whichkey, which conveniently displays the keymaps bound to the key I just pressed. It’s like having a helpful guide right at my fingertips!
Initial Flutter setup
I found the flutter-tools plugin which has all I need to run the Flutter app. I started with basic configuration.
{
    'akinsho/flutter-tools.nvim',
    dependencies = {
        'nvim-lua/plenary.nvim',
        'stevearc/dressing.nvim',
    },
    config = true,
}
That’s all you need to start running your Flutter apps, While that may be sufficient for some, it’s not quite enough for me. I require a debugger to be seamlessly integrated into my setup, enabling me to effortlessly debug my Flutter apps with ease. Let’s take our Flutter development to the next level!
DAP integration
For Dart, we’re going to use dart-debug-adapter (install it using Mason) and follow these instructions to quickly set this up.
Final Flutter setup with debug support
lvim.plugins = {
  -- for DAP support
  { "mfussenegger/nvim-dap" },
  {
    "akinsho/flutter-tools.nvim",
    dependencies = { "nvim-lua/plenary.nvim", "stevearc/dressing.nvim" },
    config = function()
      require('flutter-tools').setup {
       -- (uncomment below line for windows only)
       -- flutter_path = "home/flutter/bin/flutter.bat",

        debugger = {
          -- make these two params true to enable debug mode
          enabled = false,
          run_via_dap = false,
          register_configurations = function(_)

             require("dap").adapters.dart = {
                type = "executable",
                command = vim.fn.stdpath("data") .. "/mason/bin/dart-debug-adapter",
                args = {"flutter"}
              }

            require("dap").configurations.dart = {
              {
                type = "dart",
                request = "launch",
                name = "Launch flutter",
                dartSdkPath = 'home/flutter/bin/cache/dart-sdk/',
                flutterSdkPath = "home/flutter",
                program = "${workspaceFolder}/lib/main.dart",
                cwd = "${workspaceFolder}",
              }
            }
            -- uncomment below line if you've launch.json file already in your vscode setup
            -- require("dap.ext.vscode").load_launchjs()
          end,
        },
        dev_log = {
          -- toggle it when you run without DAP
          enabled = false,
          open_cmd = "tabedit",
        },
        lsp = {
          on_attach = require("lvim.lsp").common_on_attach,
          capabilities = require("lvim.lsp").default_capabilities,
        },

      }
    end
  },
  -- for dart syntax hightling
  {
    "dart-lang/dart-vim-plugin"
  },
}
In this article, I’ve focused solely on Flutter and Dart-related plugins for Neovim. However, stay tuned for future articles where I’ll be sharing my other configurations and setups.
And there you have it, my fellow Flutter developers! I hope this article has been a game-changer for your Neovim and Flutter journey. Remember, we’re all in this together, so let’s keep sharing our knowledge and making our coding experiences even more enjoyable.
